Using One Step at a Time Configuration
This section describes each configuration step shown in the One step configuration section. If you have executed the One step configuration, then you do not need to execute the scripts described in this section.
Configuring the Environment
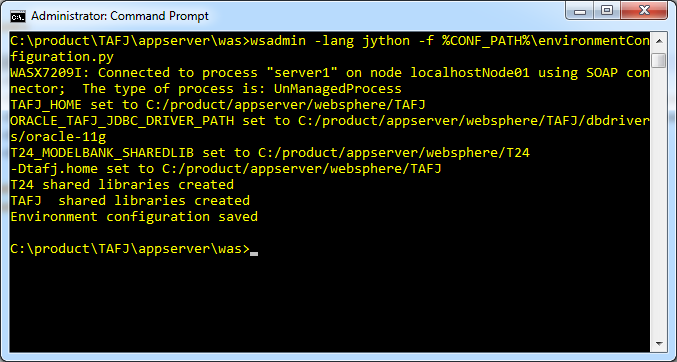
You can find the environment configuration script in %TAFJ_HOME% \appserver\was\jython\ environmentConfiguration.py. This script helps you to set the TAFJ_HOME, ORACLE_TAFJ_JDBC_DRIVER_PATH, T24_MODELBANK_SHAREDLIB, TAFJ shared libraries, and -Dtafj.home properties.
Before running the script, you should define the parameters such as node, cell and server name to set the scope of the configuration, tafjHome and t24Home to specify the environment variable values. To do so edit the file available at %TAFJ_HOME%\appserver\was\jython\ tafj.py and set the following properties:
- cell_name="localhostNode01Cell"
- node_name="localhostNode01"
- server_name="server1"
- tafjHome="C:/product/appserver/websphere/TAFJ"
- t24Home="C:/product/appserver/websphere/T24"
Multiple Profiles
If you have multiple profiles defined and if you want to execute the scripts against a profile, which is not the default one, then you will have to add the profile name to the command below.
-profileName %PROFILE_NAME%
Enabling Security
Procedure
- Execute the script by enabling the admin console security. This will allow you to enter the admin user name and password through:
- System prompt
- The -user %ADMIN_USER_NAME% -password %ADMIN_USER_PASSWORD% command.
- Launch the following command from the command line:%WAS_HOME%\bin\ wsadmin -lang jython -f environmentConfiguration.py
- Browse the administrative console to check if the following configurations are correct:
- Environment > WebSphere variables
- Environment > Shared Libraries
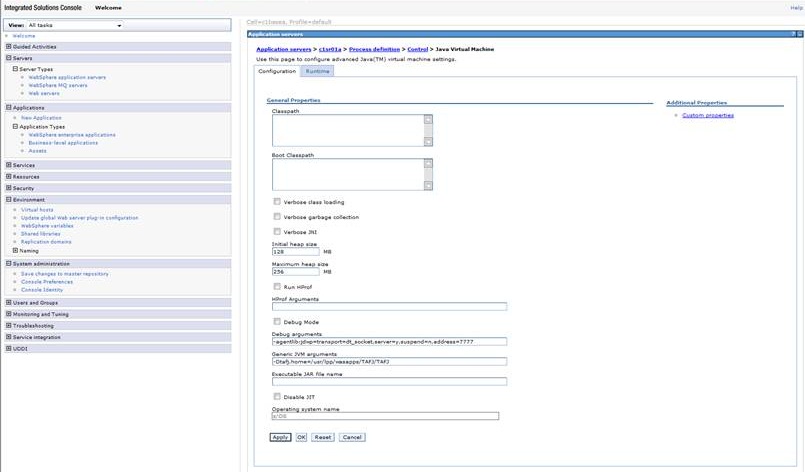
- Server > Server Type > WebSphere application servers > #profileName# > (Server infrastructure) Java and Process Management > Process definition > Java Virtual Machine
- Generic JVM arguments: -Dtafj.home= %TAFJ_HOME%
Example: -Dtafj.home= /opt/wasapps/TAFJ
Configuring JMS Resources
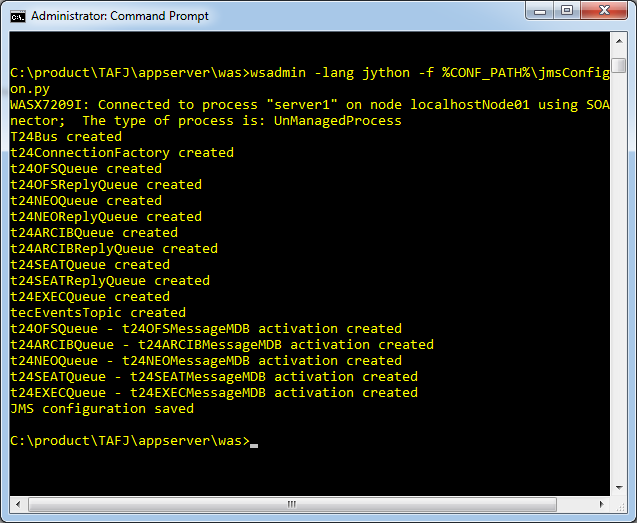
To configure JMS resources, you need to run the script located at %TAFJ_HOME% \appserver\was\jython\ jmsConfiguration.py. This will create:
- A service integration and add a bus member
- A JMS connection factory
- JMS Queues
- A JMS topic
- Activation specifications
Before running it, you have to define parameters such as node, cell and server name to set the scope of the configuration in the %TAFJ_HOME%\appserver\was\jython\ tafj.py file.
Procedure
- Launch the following command in the command line (refer to Configuring the Environment section for additional command parameters):
- Browse the administrative console to check if this step is correctly done.
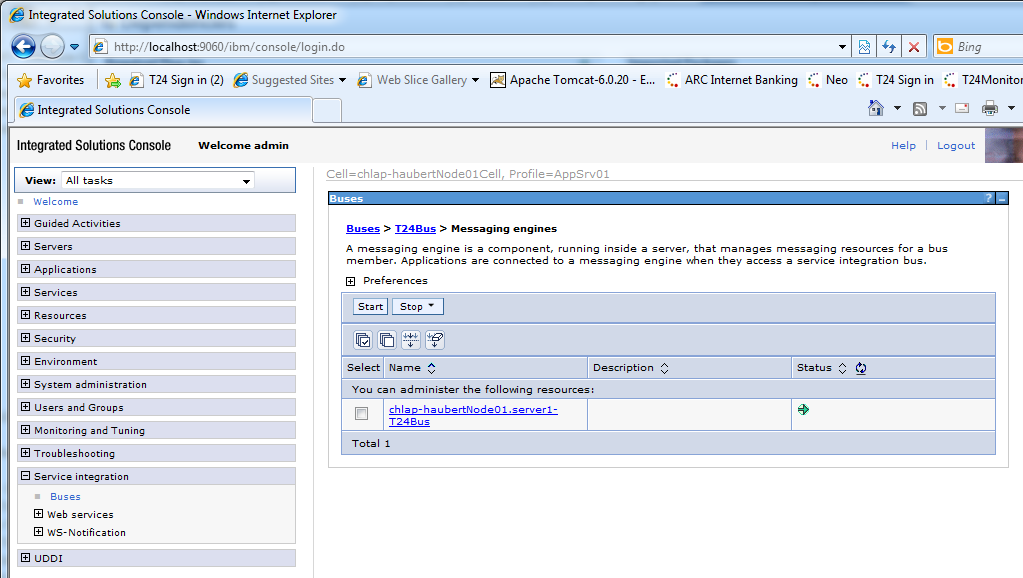
- Click Service integration > Buses. You should see T24Bus.
Messaging engines status (under Buses >T24 Bus > Messaging engines) should automatically be
 (Started).
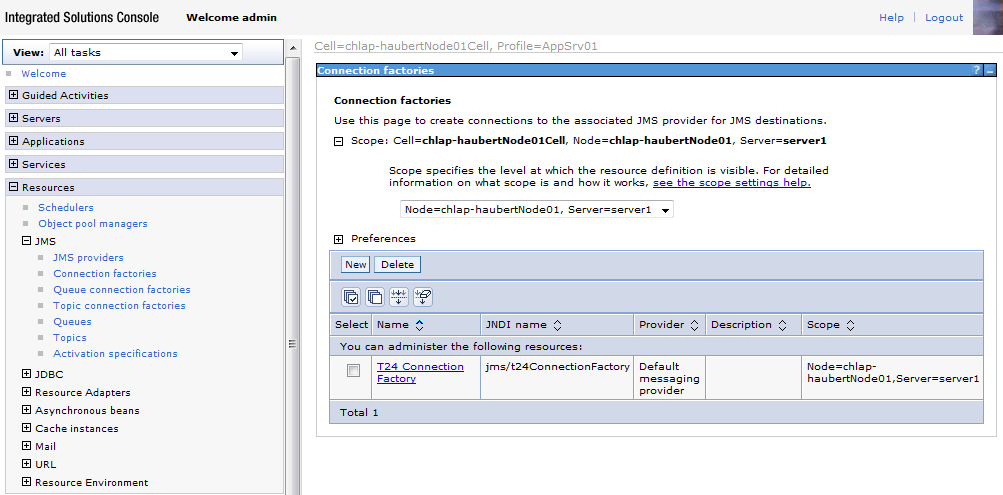
- Check if connection factory was created.
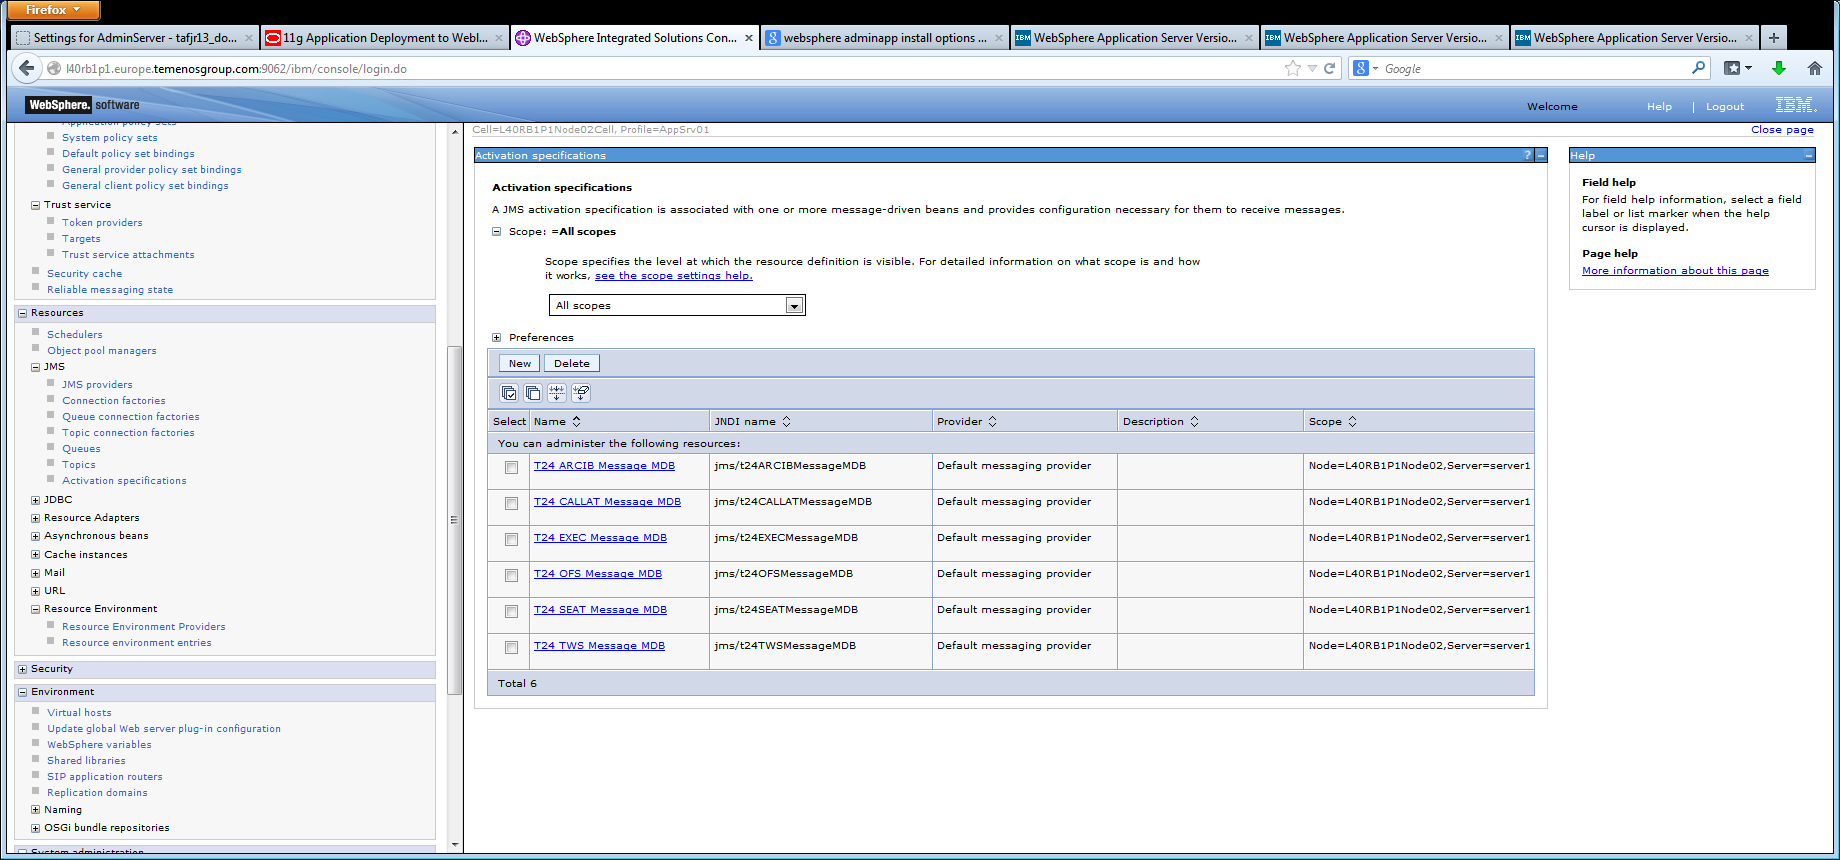
- Check if activation specs were created.
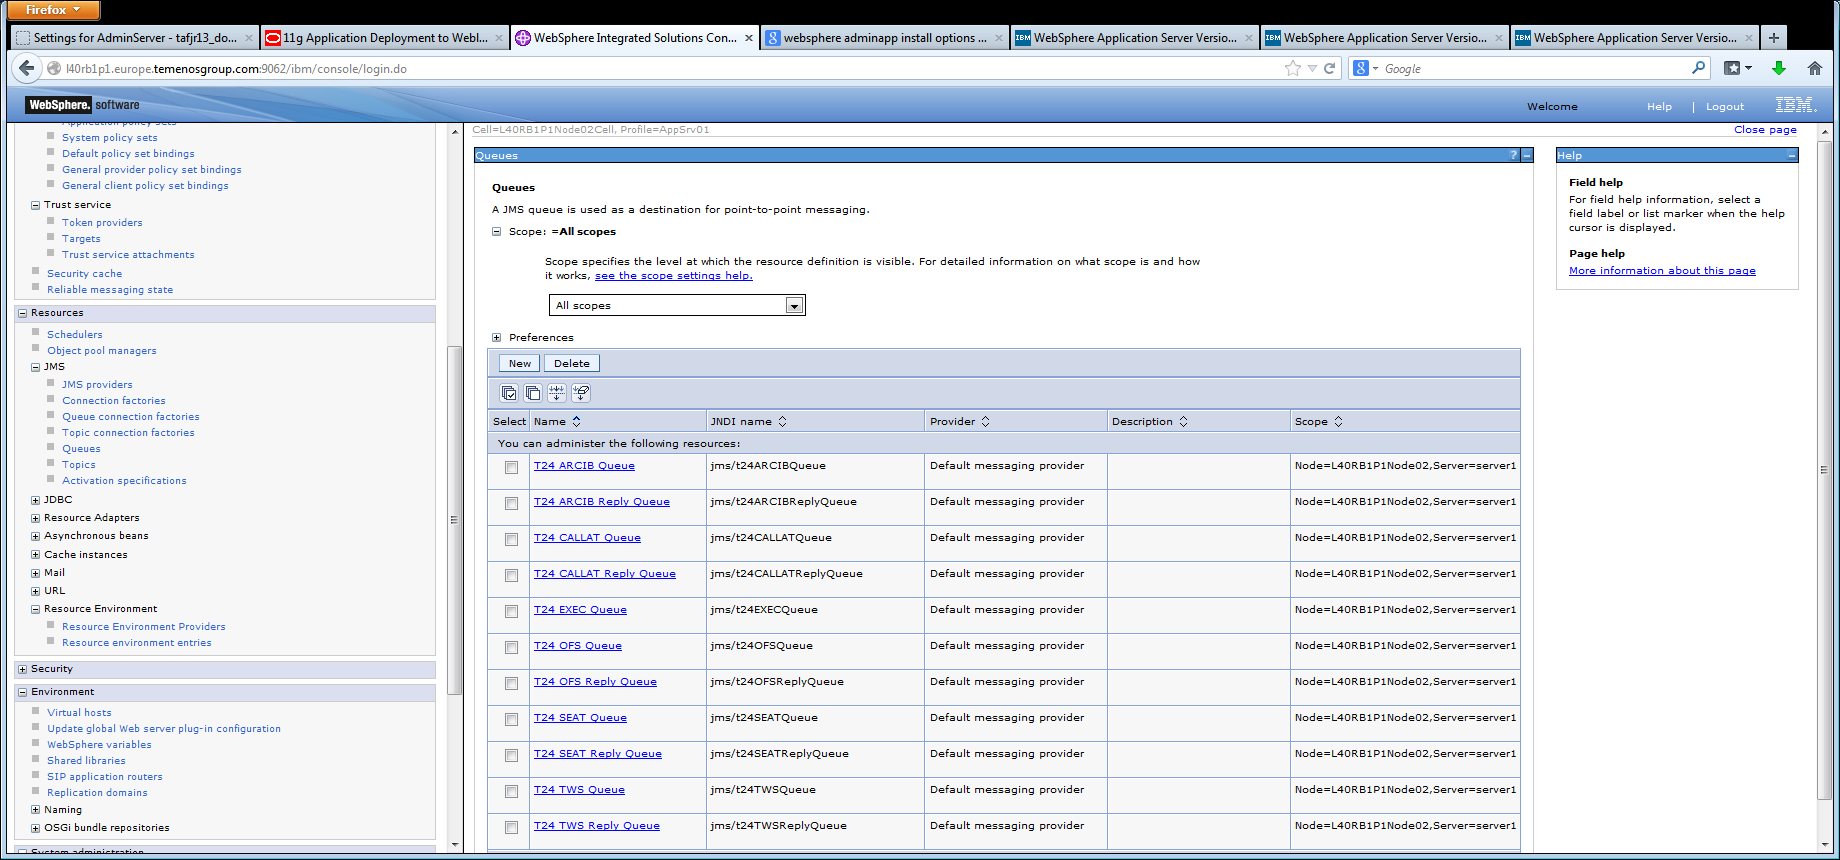
- Check if queues were created.
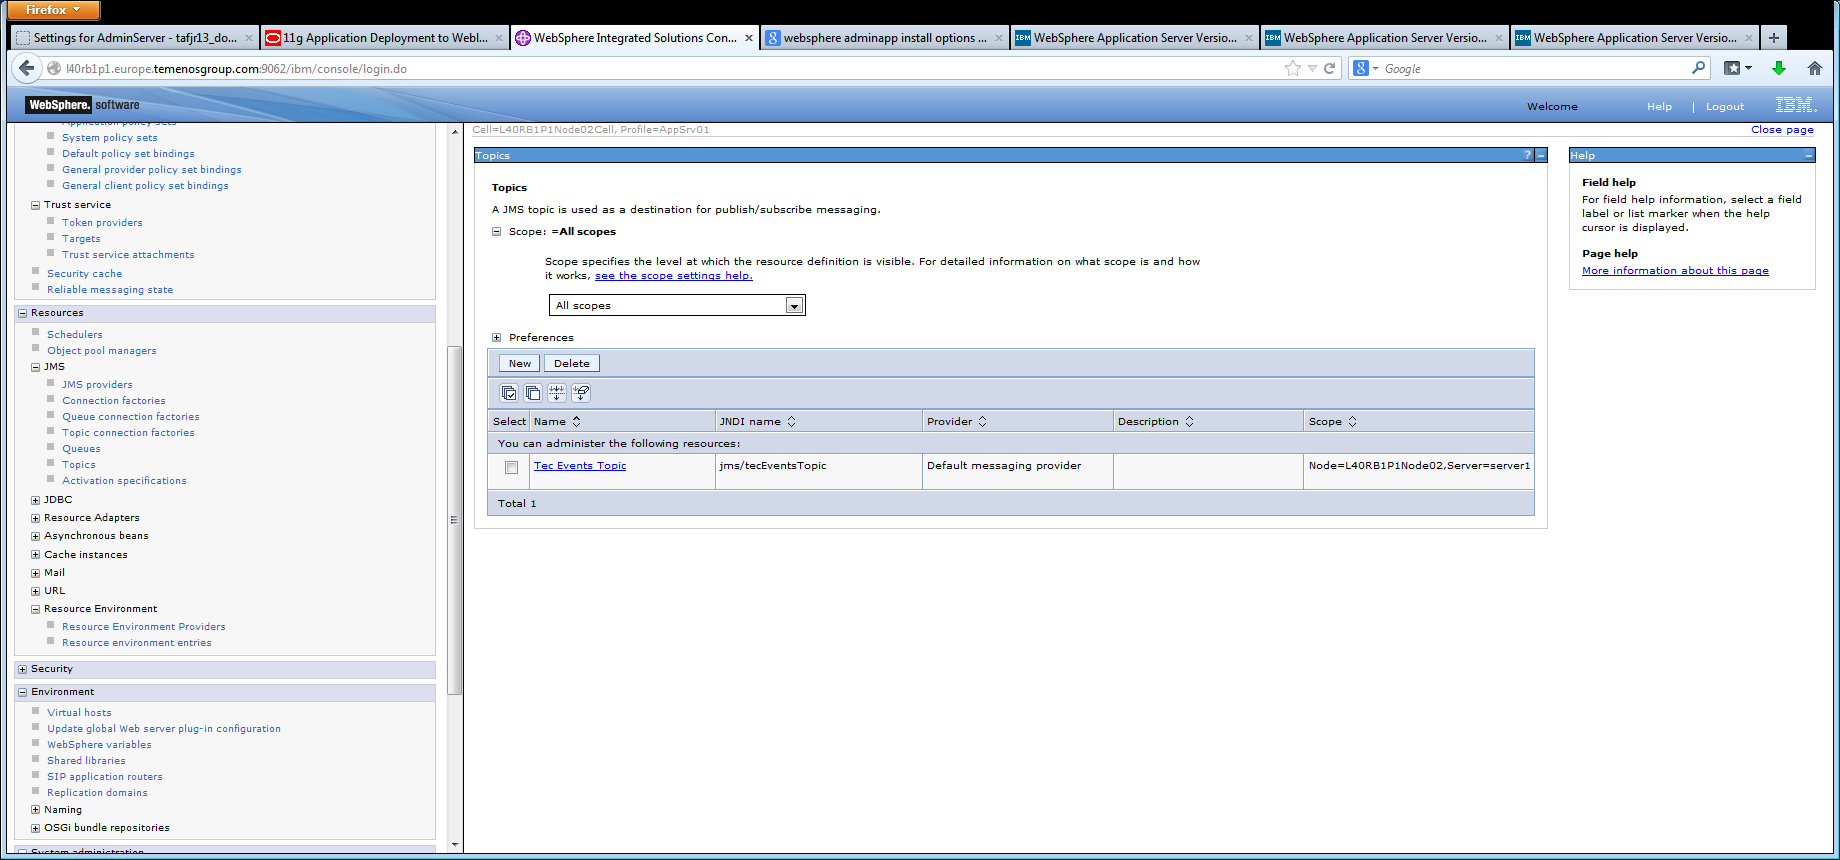
- Check if topics were created.
%WAS_HOME%\bin\wsadmin -lang jython -f jmsConfiguration.py
Configuring JDBC Resources
This section describes the configuration of Temenos Transact Oracle, DB2 and MSSQL databases.
 Configuring Temenos Transact Oracle 11g Database
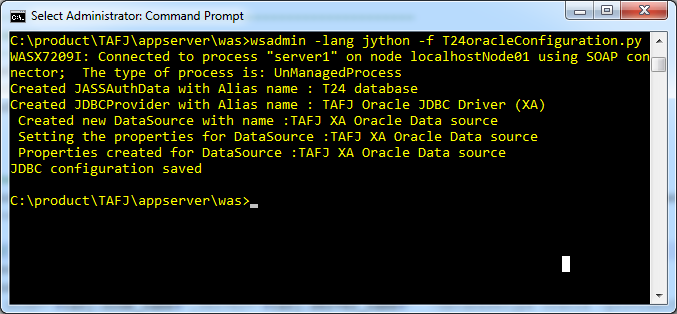
When you setup the datasource you have to use the drivers provide by the database. The %TAFJ_HOME%\DBDrivers is just a helper. The script is located at %TAFJ_HOME% \appserver\was\jython\ ORACLEConfiguration.py
On execution, the ORACLEConfiguration.py script creates:
- The Temenos Transact Manager Database Credentials
- A JDBC Provider for TAFJ
- A datasource for TAFJ
Before running it you have to define some parameters such as node, cell and server name to set the scope of the configuration in the %TAFJ_HOME%\appserver\was\jython\ tafj.py file. You must also define the following properties to identify your Oracle database and provide a user id and password for authentication. That is:
dbDriver="oracle-12c"
dbHostName="172.16.22.102"
dbPort="1521"
dbName="MB2013"
dbUser="mbtafj"
dbPwd="mbtafj"
Procedure
- Launch the following command in the command line.
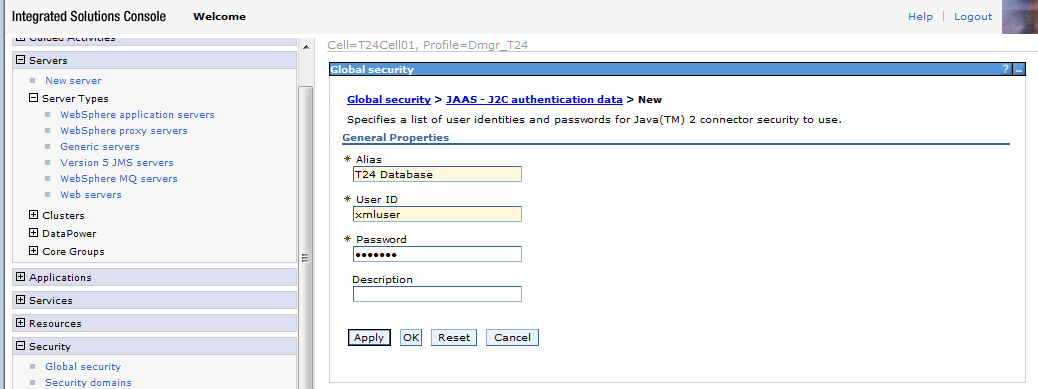
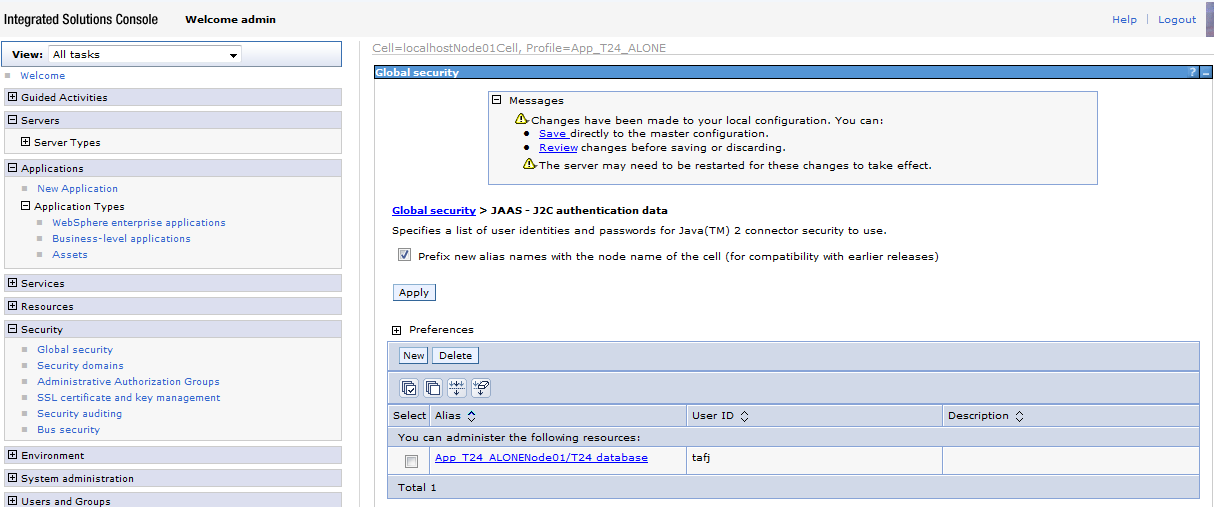
- Browse the administrative console to check if this step is correctly done.
- Click Security > Global security > Java Authentication and Authorization Service > J2C authentication data and specify Alias as Temenos Transact database, User ID and Password.
- Click OK.
- Click Apply > Save.
%WAS_HOME%\bin\ wsadmin -lang jython -f ORACLEConfiguration.py
Configuring Temenos Transact DB2 Database
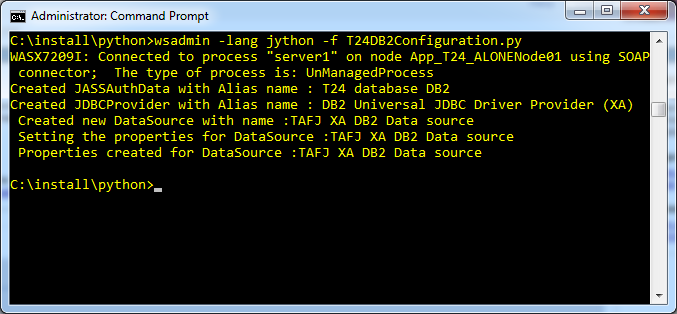
You can find the script in %TAFJ_HOME% \appserver\was\jython\ DB2Configuration.py. On execution, it creates:
- The Temenos Transact DB2 Database Credentials
- A JDBC Provider for TAFJ
- A datasource for TAFJ
Before running it you have to define some parameters such as node, cell and server name to set the scope of the configuration in the %TAFJ_HOME%\appserver\was\jython\ tafj.py file. You must also define the following properties to identify your DB2 database and provide a user id and password for authentication. That is:
dbDriver="db2_v10.1"
dbHostName="localhost"
dbPort="50000"
dbDriverType="4"
dbName="MB2013"
dbUser="mbtafj"
dbPwd="mbtafj"
Procedure
- Launch the following command in the command line.
- Browse the administrative console to check this step is correctly done.
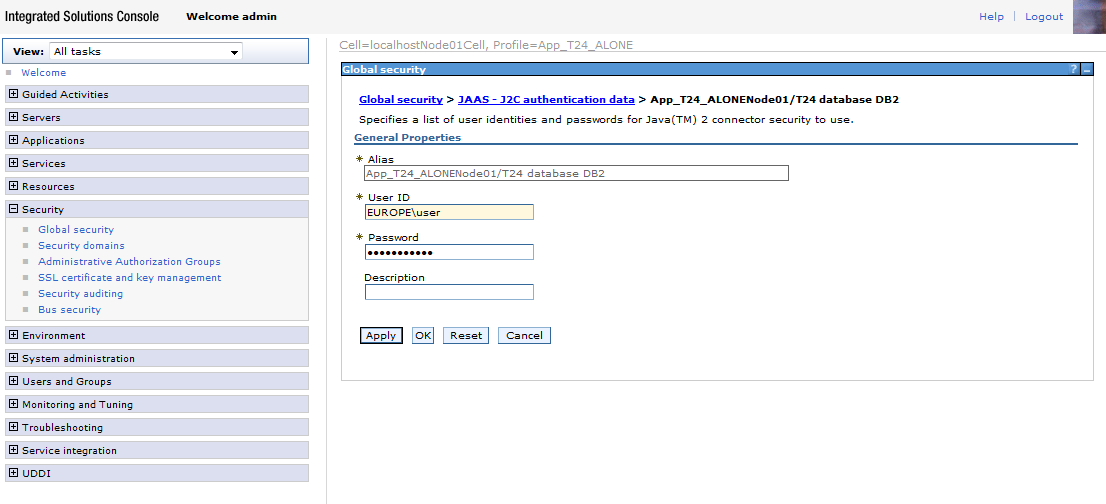
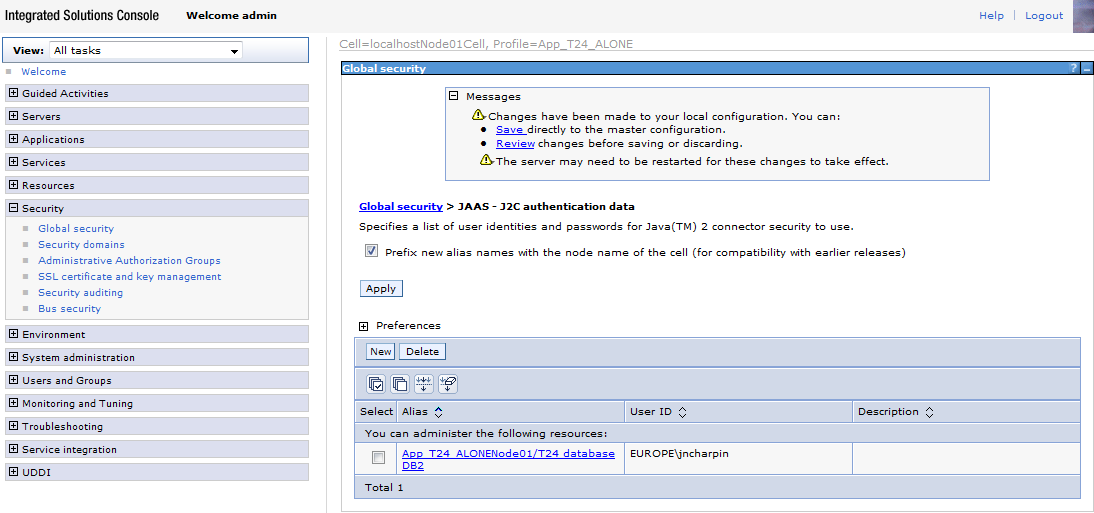
- Click Security > Global security > Java Authentication and Authorization Service > J2C authentication data and specify Alias as Temenos Transact database DB2, User ID and Password.
- Click OK.
- Click Apply > Save.
%WAS_HOME%\bin\ wsadmin -lang jython -f DB2Configuration.py
Configuring Temenos Transact MSSQL Database
You can find the script in %TAFJ_HOME% \appserver\was\jython\ MSSQLConfiguration.py. On execution, it creates:
- The Temenos Transact MSSQL Database Credentials
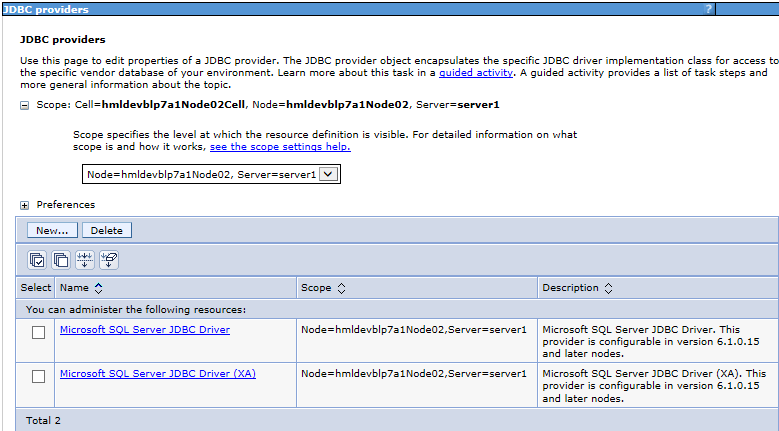
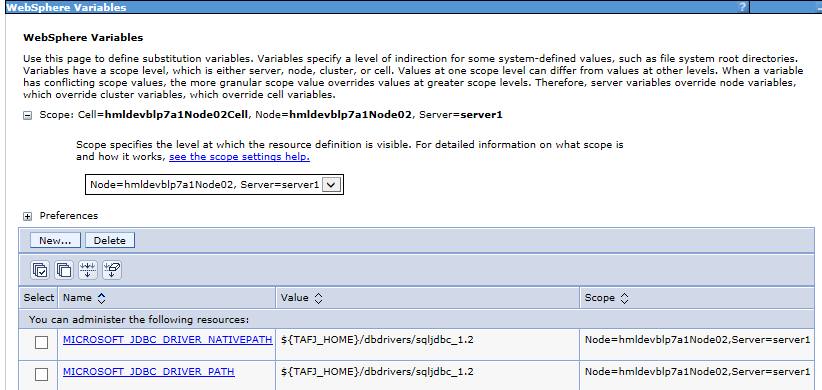
- A JDBC Provider for TAFJ
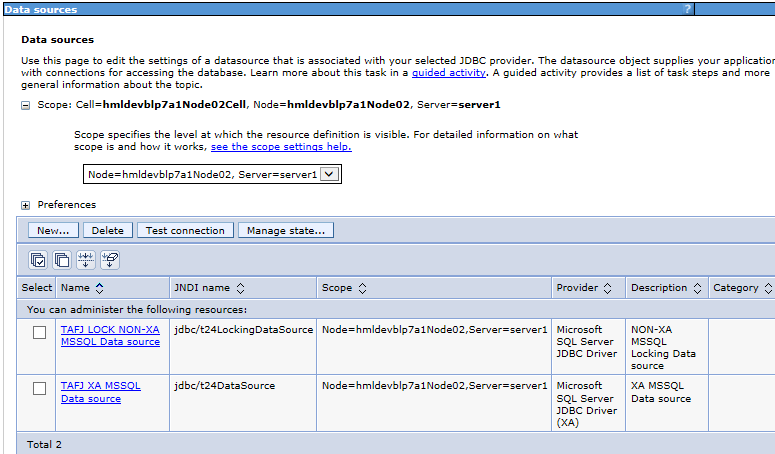
- A datasource for TAFJ
Before running it you have to define some parameters such as node, cell and server name to set the scope of the configuration in the %TAFJ_HOME%\appserver\was\jython\ tafj.py file. You must also define the following properties to identify your DB2 database and provide a user id and password for authentication. That is:
dbDriver="sqljdbc_1.2"
dbServerName="localhost"
dbPort="1433"
dbName="R14DB"
dbUser="R14DB"
dbPwd="R14DB"
Procedure
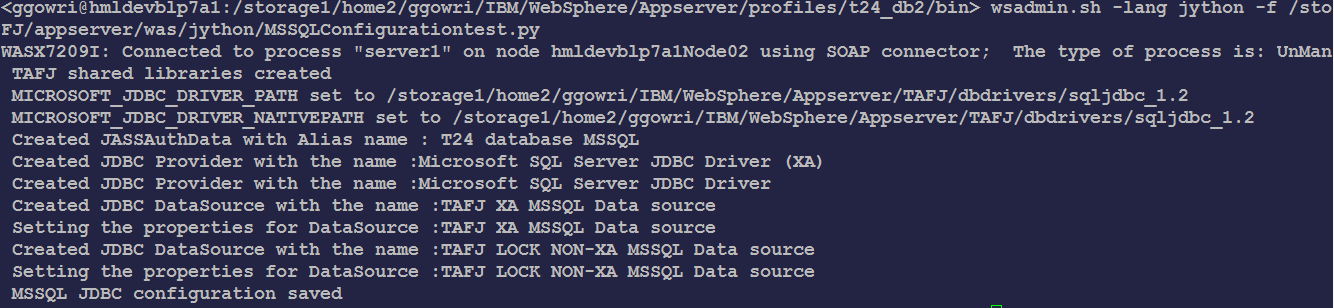
- Launch the following command in the command line.
- Browse the administrative console to check if this step is correctly done.
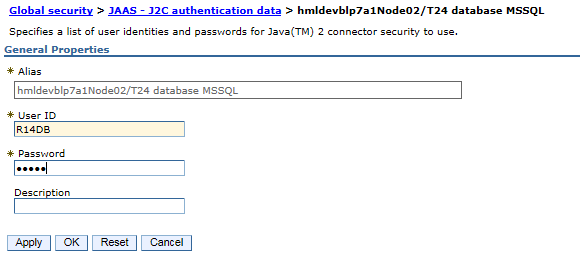
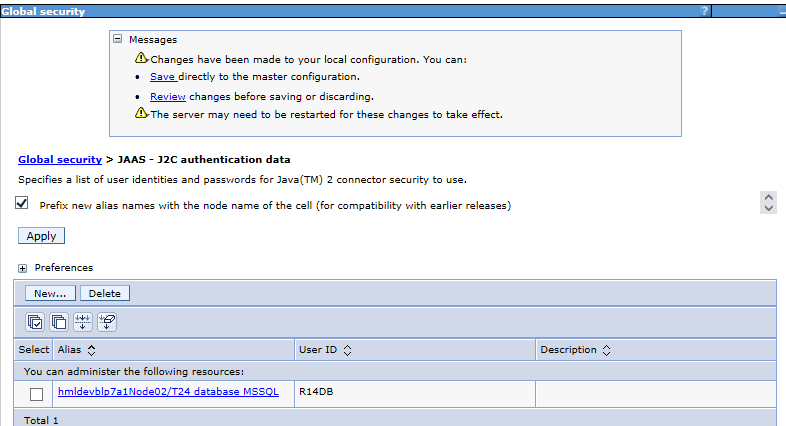
- Click Security > Global security > Java Authentication and Authorization Service > J2C authentication data and specify Alias as Temenos Transact database MSSQL, User ID and Password.
- Click OK.
- Click Apply then Click Save.
%WAS_HOME%\bin\ wsadmin -lang jython -f MSSQLConfiguration.py
Deploying TAFJ Application
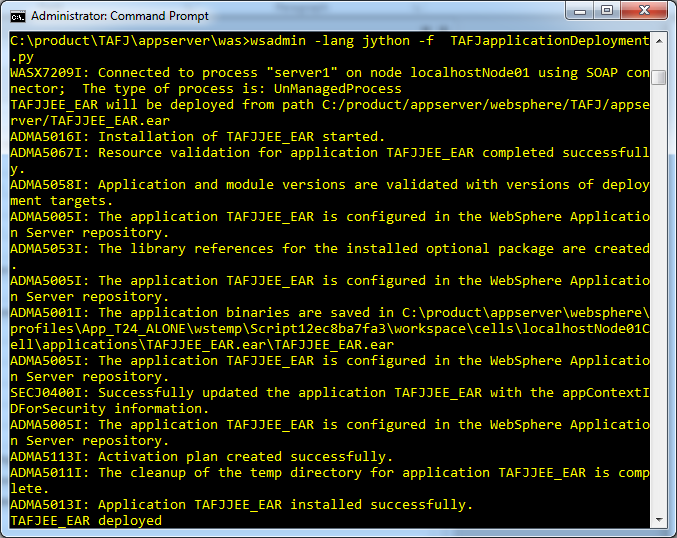
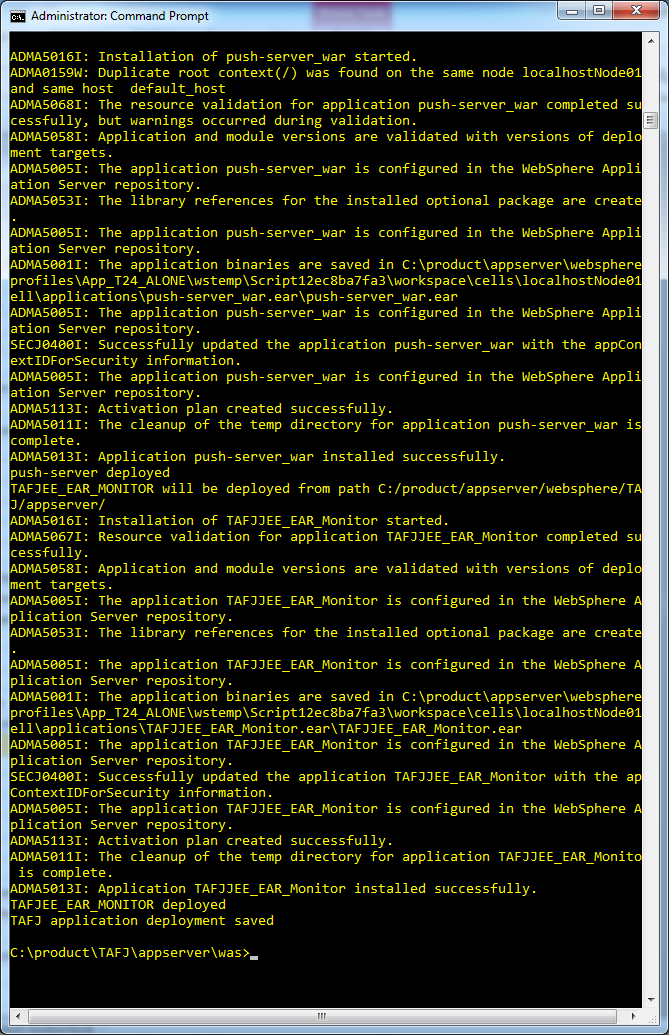
TAFJ application deployment can be run automatically. The script is located at %TAFJ_HOME% \appserver\was\jython\TAFJapplicationDeployment.py
It executes the following actions:
- Deploy TAFJJEE_EAR.ear application.
- Before running it you have to define some parameters such as node, cell and server name to set the scope of the configuration in the %TAFJ_HOME%\appserver\was\jython\ tafj.py file. You must also define the tafjHome as root folder to locate the applications to be deployed. That is:
tafjHome="C:/product/appserver/websphere/TAFJ"
- Launch the following command in the command line.
wsadmin -lang jython -f TAFJapplicationDeployment.py


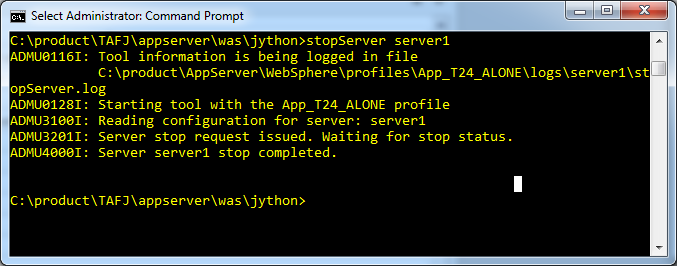
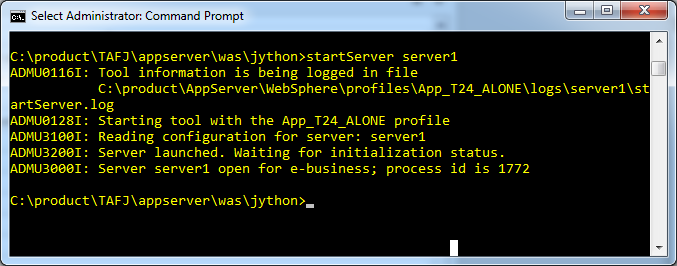
- Stop and restart your server to start the applications.
- Type the stopServer <your_server_name> command in the command line.
- Type the startServer < your_server_name > command in the command line.
- Browse the administrative console to check if the application is correctly deployed and started.
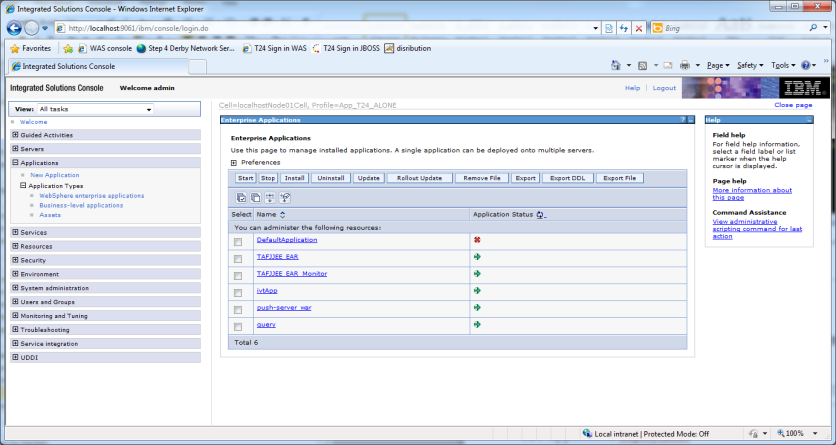
Deploying TAFJ Application in Console Mode
You can also manually deploy or redeploy TAFJJEE_EAR.
Procedure
- In the console, click Applications > New Application > New Enterprise Application.
- Select local file deployment option and the TAFJJEE_EAR.ear file under the % TAF_HOME%\appserver folder. Click Next.
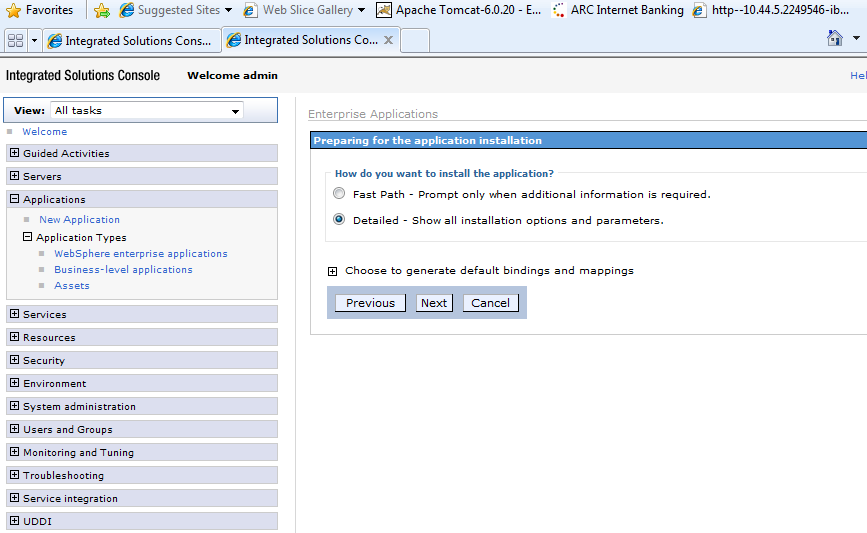
- Select Detailed - Show all installation options and parameters and click Next.
- In the Install New Application wizard, do the following steps:
- Step 1 Select installation options: Click Next with default values.
- Step 2 Map modules to servers: Click Next with default values.
- Step 3 Provide JSP reloading options for Web modules: Click Next with default values.
- Step 4 Map shared libraries: Add TAFJ shared libraries and Temenos Transact shared libraries.
- Repeat steps a to c for the other steps present in the Install New Application wizard and finish the wizard.

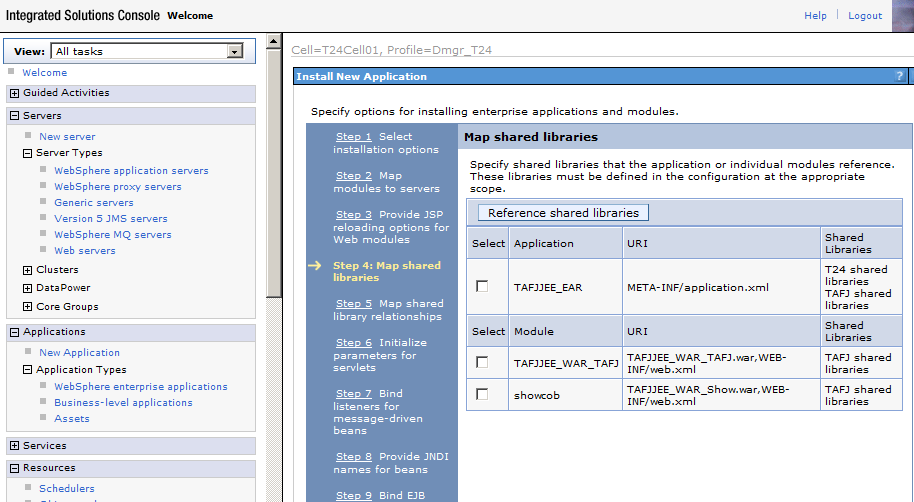
- Validate at the end of the installation processing that the TAFJJEE_EAR.ear application was installed successfully.
- Click Save.
Logging Configuration
Since PB201607 the default logging API being used is Log4j 2. To keep using former Log4j 1.2 with existing TAFJTrace configuration, you need to do the following modifications in your TAFJ shared lib:
- Delete $TAFJ_HOME/lib/log4j-api.jar and $TAFJ_HOME/lib/log4j-api.jar
- Copy $TAFJ_HOME/3rdParty/logging/log4j12/log4j.jar to $TAFJ_HOME/lib/log4j.jar
- Provide as a server JVM argument the logging API to use.
-Dtemenos.log.api=LOG4J
Alternative
TAFJ can also be configured to use SLF4J instead of the default log4j 2 provided configuration. You need to do the following modifications to the TAFJ shared lib to use provided SLF4J version and the desired SLF4J to back-end bridge (SLF4J + Log4j 1.2):
- Delete $TAFJ_HOME/lib/log4j-api.jar and $TAFJ_HOME/lib/log4j-api.jar
- Copy the following JARs:
- $TAFJ_HOME/3rdParty/logging/slf4j/slf4j-api.jar to $TAFJ_HOME/lib/slf4j-api.jar
- $TAFJ_HOME/3rdParty/logging/slf4j/slf4j-log4j12.jar to $TAFJ_HOME/lib/slf4j-log4j12.jar
- $TAFJ_HOME/3rdParty/logging/log4j12/log4j.jar to $TAFJ_HOME/lib/log4j.jar
- Provide as a server JVM argument the logging api to use.
-Dtemenos.log.api=LOG4J
and the logging back-end to use
-Dtemenos.log.backend=LOG4J
TAFJ Servlets
The TAFJJEE_EAR.ear file sets MDB (TAFJJEE_MDB.jar) and EJB (TAFJJEE_EJB.jar) to read message from JMS Queues, call Temenos Transact and publish response in reply queues.
It also contains a WAR file to deploy helper servlet.
http://localhost:8080/TAFJEE
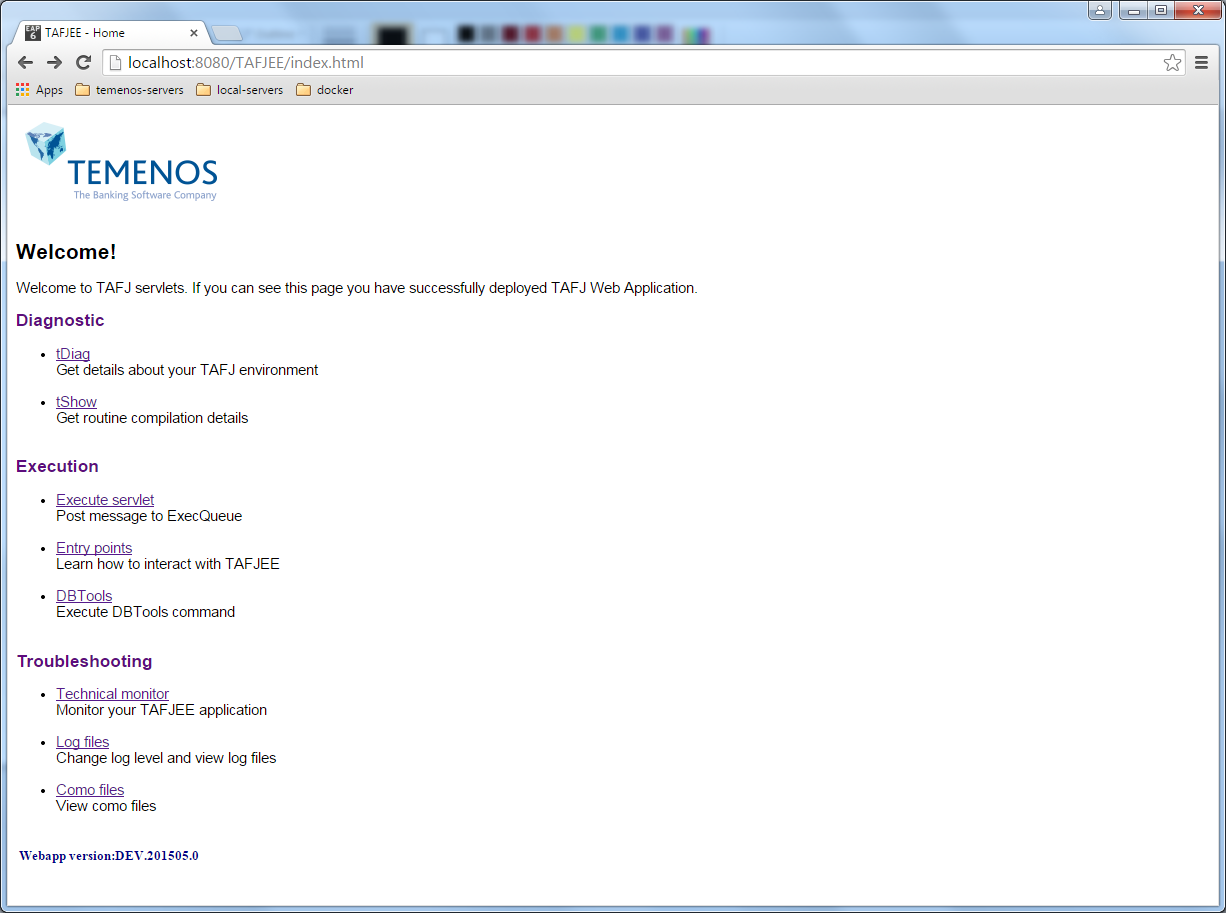
tDiag Servlet
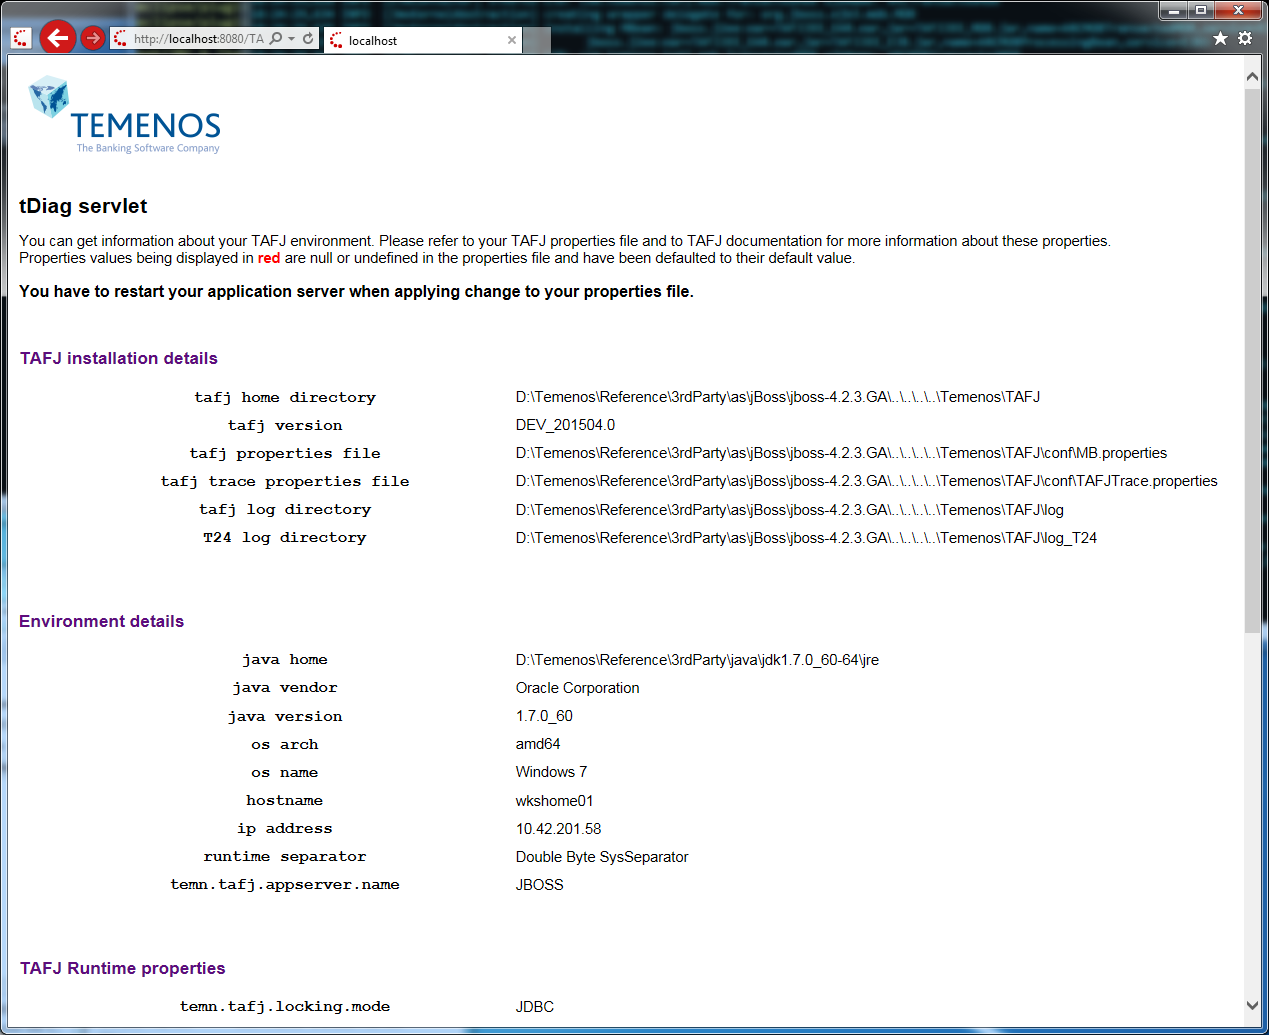
TAFJJEE_WAR_TAFJ contains a servlet which allows you to get details about TAFJ installation.
http://localhost:8080/TAFJEE/tDiag
tShow Servlet
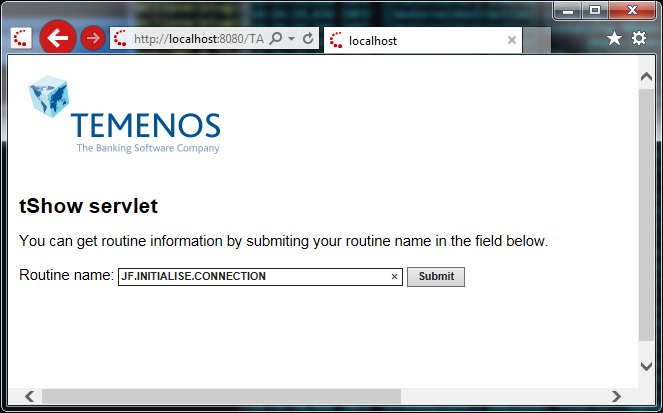
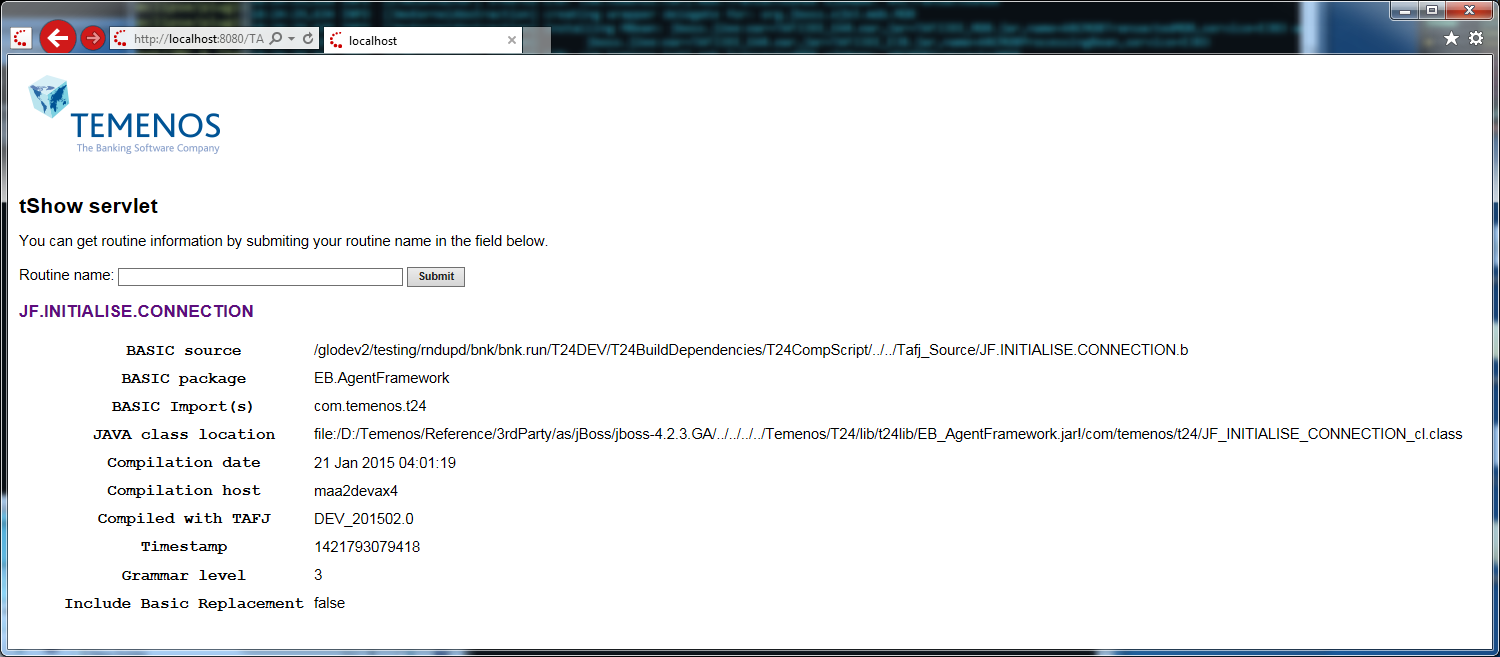
TAFJJEE_WAR_TAFJ contains a servlet which allows you to get compilation details about a specific routine
http://localhost:8080/TAFJEE/tShow
The screen captures below show the details about JF.INITIALISE.CONNECTION.
 Execute Servlet
TAFJJEE_WAR_TAFJ contains a servlet which allows you to post message to the JMS queue t24ExeqQueue.
http://localhost:8080/TAFJEE/Execute
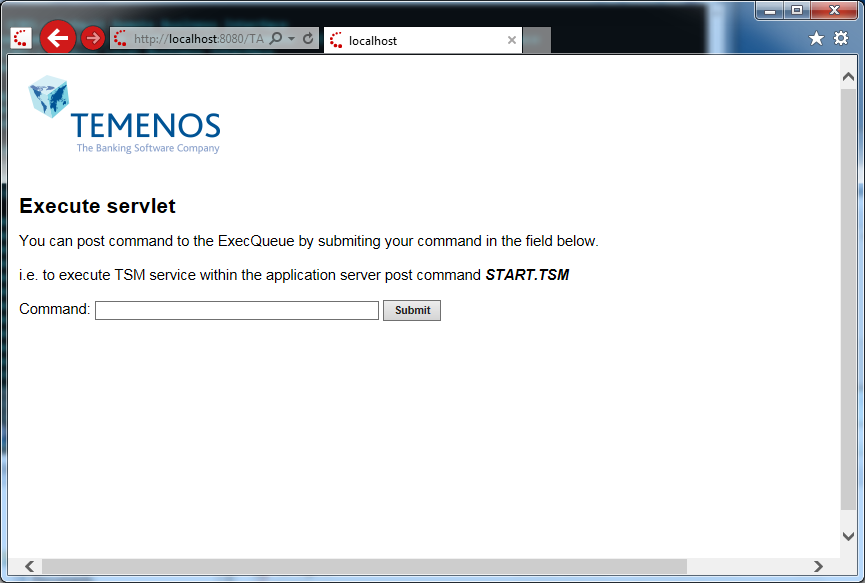
That is to post START.TSM submit START.TSM in the form.
Remark: The following properties need to be set correctly to run TAFJ within an application server context:
temn.tafj.runtime.phantom.as.process = false
Other TAFJEE functionalities
TAFJEE application offers many other functionalities like monitoring, changing log level, como viewer, etc.
Deploying Temenos Transact Application
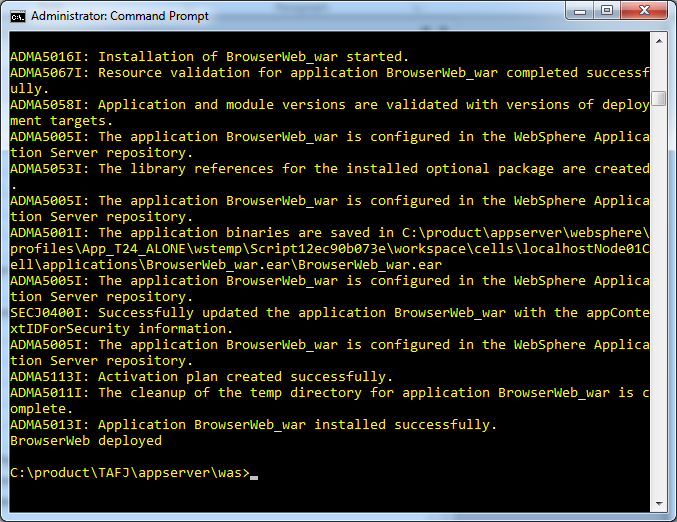
Temenos Transact application – BrowserWeb.war deployment can be run automatically.
The script is located at %TAFJ_HOME% \appserver\was\jython\ T24applicationDeployment.py. On executing this script, it deploys Browserweb.war.
Before running it you have to define some parameters such as node, cell and server name to set the scope of the configuration in the %TAFJ_HOME%\appserver\was\jython\ tafj.py file. You must also define the browserWebHome as root folder to locate the Browserweb.war to be deployed. That is:
browserWebHome="C:/product/appserver/websphere/TAFJ/appserver"
Procedure
- Launch the following command in the command line.wsadmin -lang jython -f T24applicationDeployment.py
- Stop and restart your server to start the application. You can then browse the administrative console to check it has been correctly deployed and started.
Deploying Temenos Transact Application in Console Mode
You can also manually deploy or redeploy BrowserWeb.war.
Procedure
- With the admin console under Applications\New Application\New Enterprise Application, select local file deployment option and the browser.war file. Click Next.
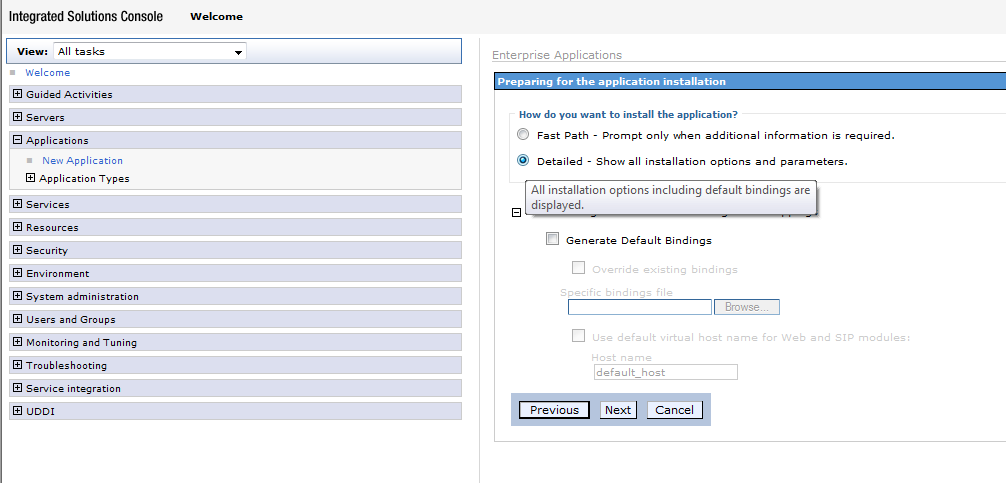
- Select Detailed - Show all installation options and parameters and click Next.
- In the Install New Application wizard, do the following steps:
- Step 1 Select installation options: Click Next with default values.
- Step 2 Map modules to servers: Click Next with default values.
- Step 3 Provide JSP reloading options for Web modules: Click Next with default values.
- Step 4 Map shared libraries: Click Next with default values.
- Step 5 Map shared library relationships: Click Next with default values.
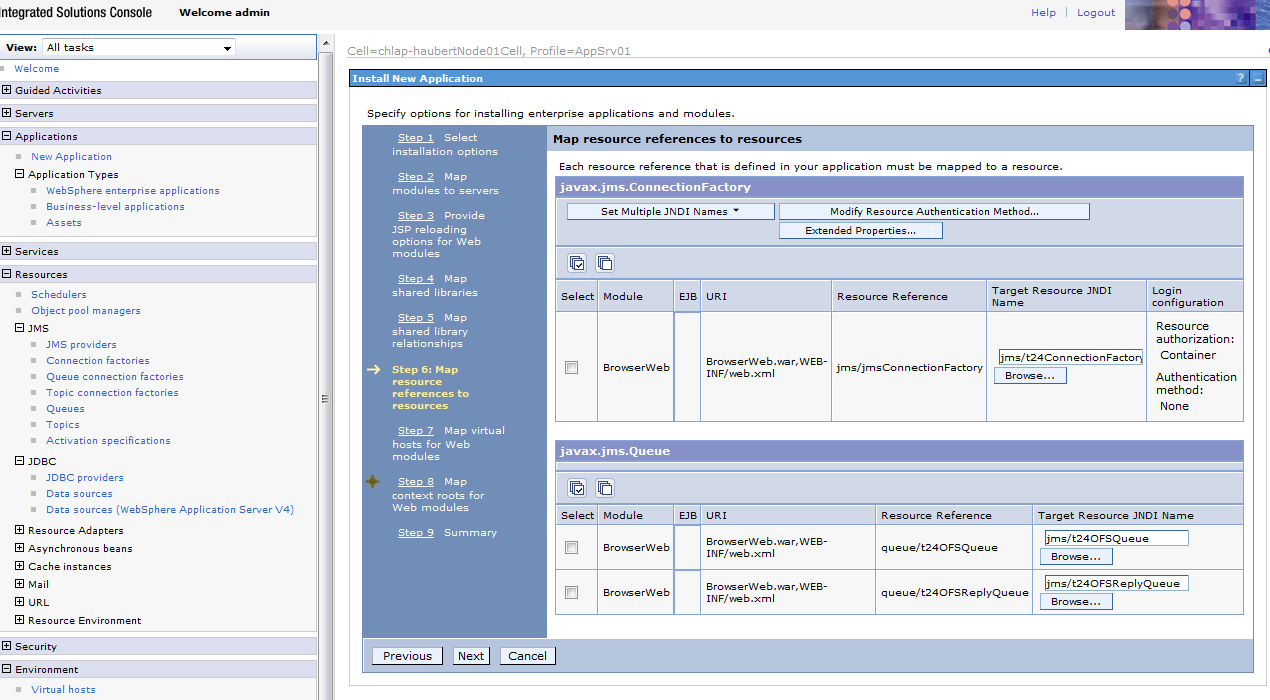
- Step 6 Map resource references to resources: Bind jms/jmsConnectionFactory to jms/t24ConnectionFactory, queue/t24OFSQueue to jms/t24OFSQueue and queue/t24OFSReplyQueue to jms/t24OFSReplyQueue.

- Step 7 Map virtual hosts for Web modules: Click Next with default values.
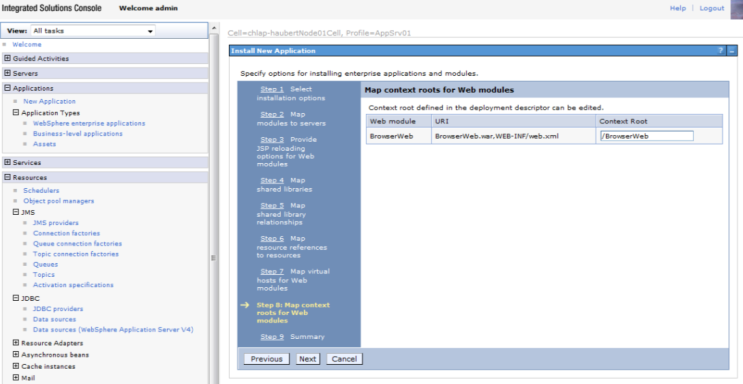
- Step 8 Map context roots for Web modules: Set Context Root to /BrowserWeb.
- Step 9 Summary: Click Next with default values.

- Click Next and Finish.
- In the Enterprise Applications page, select BrowserWeb application and click Start.
- Browser http://IP_Add:9080/BrowserWeb/servlet/BrowserServlet, where IP_Add is the IP address of the WebSphere server.
In this topic
